Seasonal Tire Pressure Checklist for Stable Handling
Tire pressure shifts with ambient temperature more than many drivers realize. Under-inflated tires increase rolling resistance and heat buildup, while over-inflation reduces contact patch grip. A simple seasonal checklist keeps pressure aligned with manufacturer specifications and helps you spot alignment or suspension issues through tread wear patterns.
Step 1: Measure Cold Pressure Correctly
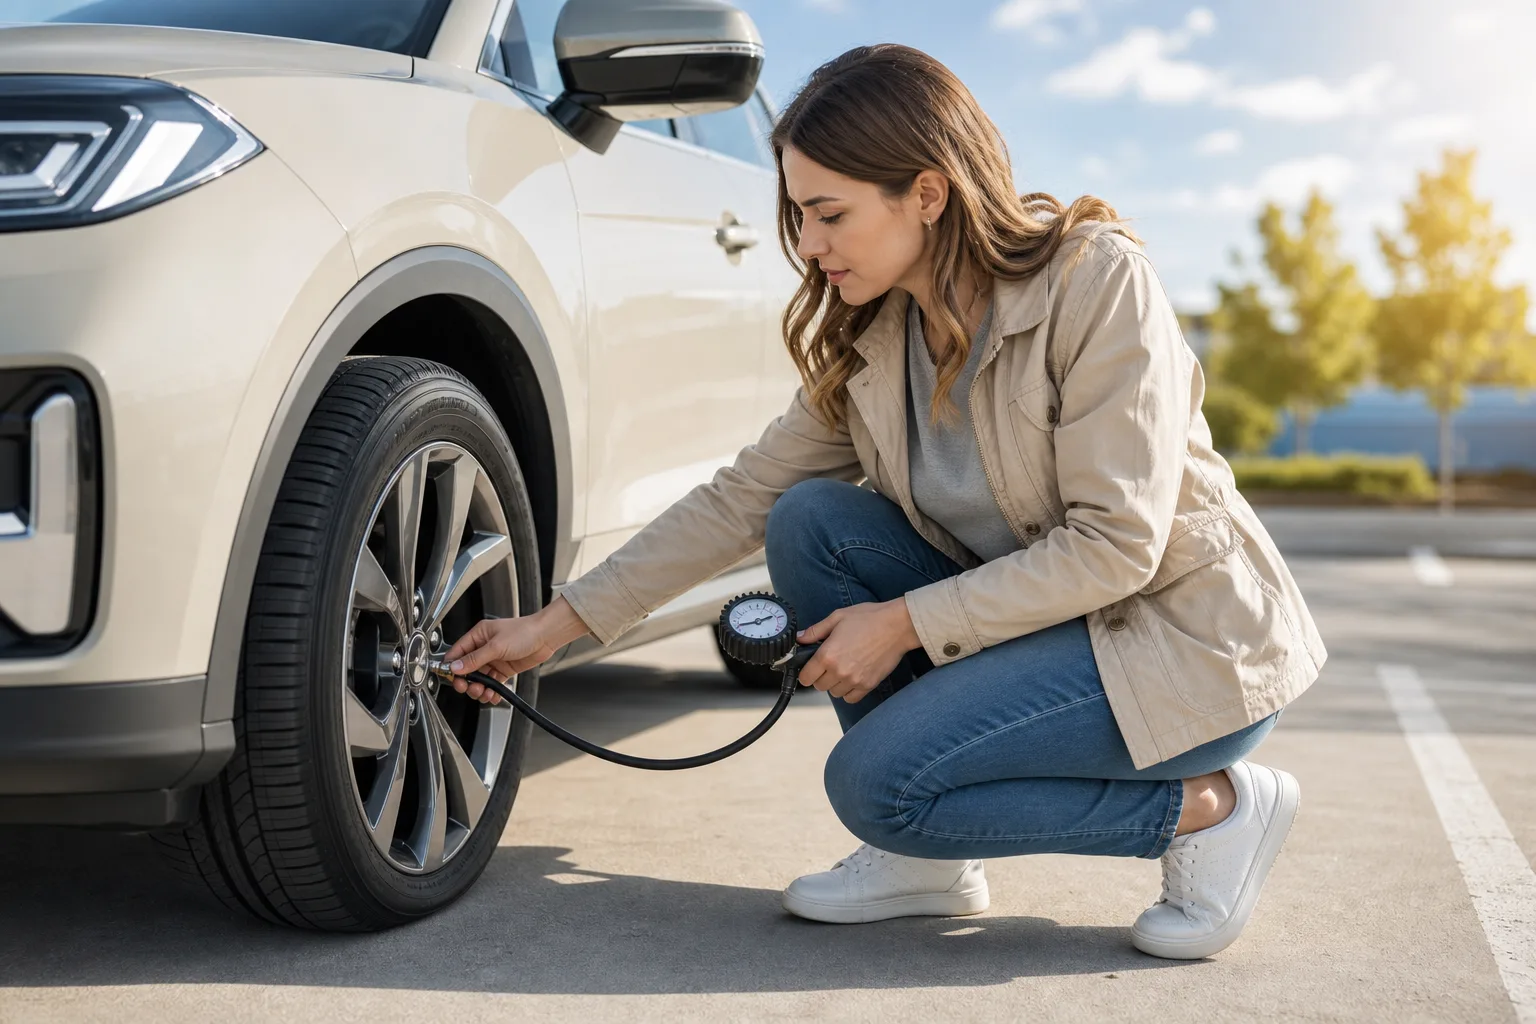
Check pressure before driving or after the vehicle has been parked for several hours. Use a calibrated gauge and compare readings to the label on the driver door jamb, not the maximum rating molded into the tire sidewall. Record front and rear values separately if specifications differ.
Step 2: Adjust for Seasonal Temperature Swings
A significant drop in overnight temperature can reduce pressure by several units. Recheck monthly during transition seasons and after long highway trips. If your vehicle has a tire pressure monitoring system, verify that warnings are not ignored after seasonal changes.
- Park on level ground and remove valve caps.
- Press gauge firmly and note each tire reading.
- Add or release air in small increments until target pressure is reached.
- Re-check all four tires and the spare if accessible.
Step 3: Inspect Tread and Sidewalls
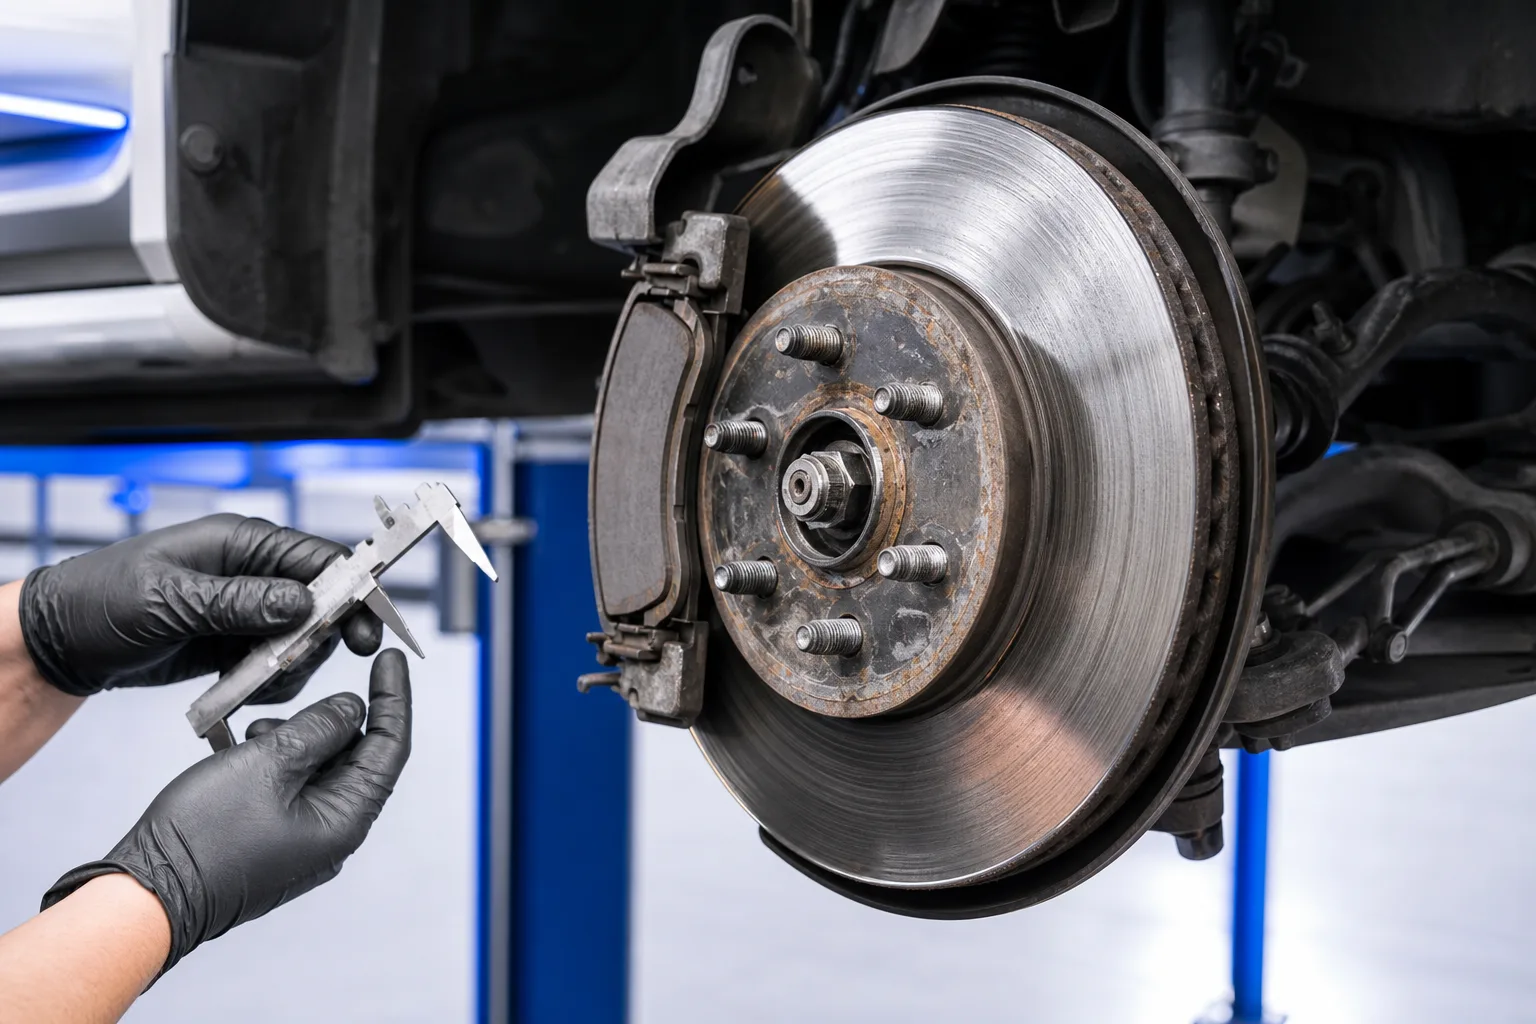
Uneven wear on the inner or outer edge may indicate alignment or suspension issues. Center wear often suggests chronic over-inflation, while edge wear can follow under-inflation. Look for cuts, bulges, or embedded objects that require professional evaluation before long trips.
Step 4: Confirm Handling After Adjustment
After correcting pressure, drive at moderate speed on a familiar route and note steering pull or vibration. Persistent pull after equal pressure usually points to alignment, brake drag, or tire construction issues rather than pressure alone. Visit leptocephal for tread measurement, rotation, and alignment checks when wear patterns look uneven.